
What do you need to draw at home?
Start with an HB pencil, an eraser, plain paper and a simple object such as a cup. An inexpensive setup lets you practise observation without waiting for a large collection of materials. Keep your lighting and viewpoint steady.
Your first session: look, place, draw
Look at the whole object before drawing details. Mark its top, bottom and widest points. Compare height with width, sketch the main shapes lightly and check the spaces around them. Correct the larger relationships before strengthening an outline.
A four-week plan
Week one: practise lines, ellipses and simple shapes. Week two: compare proportions in small household objects. Week three: study light and shadow with a single light source. Week four: combine two or three objects in one composition. Repeat manageable sessions rather than rushing into a finished picture.
Practise proportion before detail
Use a visible unit, such as the width of a cup, to compare other distances. Check the tilt of edges and the negative spaces around the object. When a drawing feels wrong, review its overall proportions before adding texture.
When should you add shading?
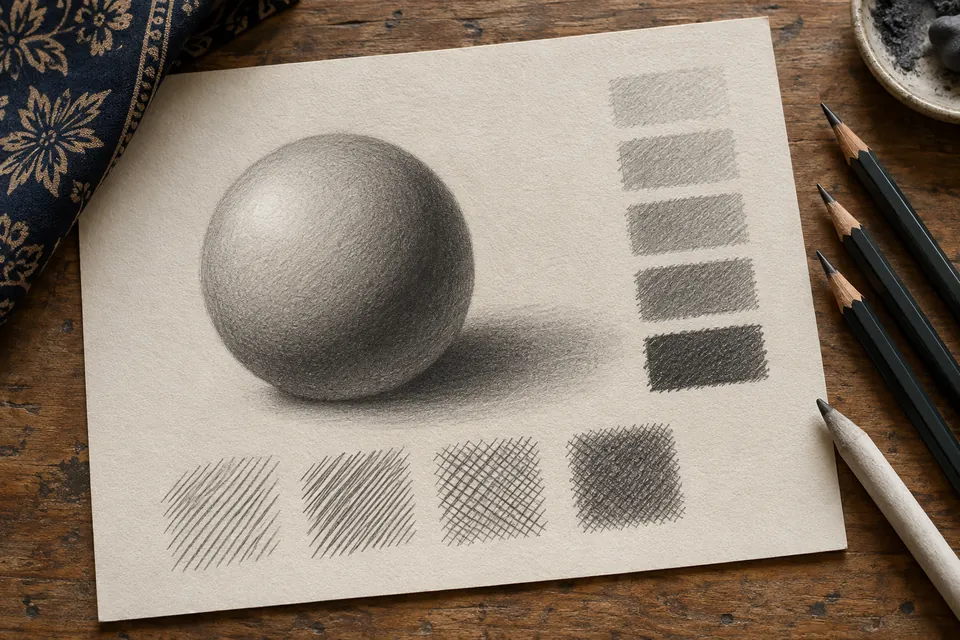
Begin shading once the main shapes are reasonably placed. Separate the light family from the shadow family, then use a few clear values. More blending will not correct an inaccurate structure or an unclear light source.
How can you recognise progress?
Keep dated exercises and repeat a familiar subject after a week. Compare proportions, clarity of light and the corrections you can identify. A useful review names one improvement and one specific exercise for the next session.
Choose your next course
Choose according to the skill you want to practise: freehand faces and bodies, graphite shading, anime, colour or another medium. Review the full curriculum, tools and current recording language before enrolling.
References and further reading
The academy's practice suggestions are its own. A reference does not imply endorsement of the academy or its courses.

